Instagram Profile Grid Planner: Preview Your Feed Before You Post
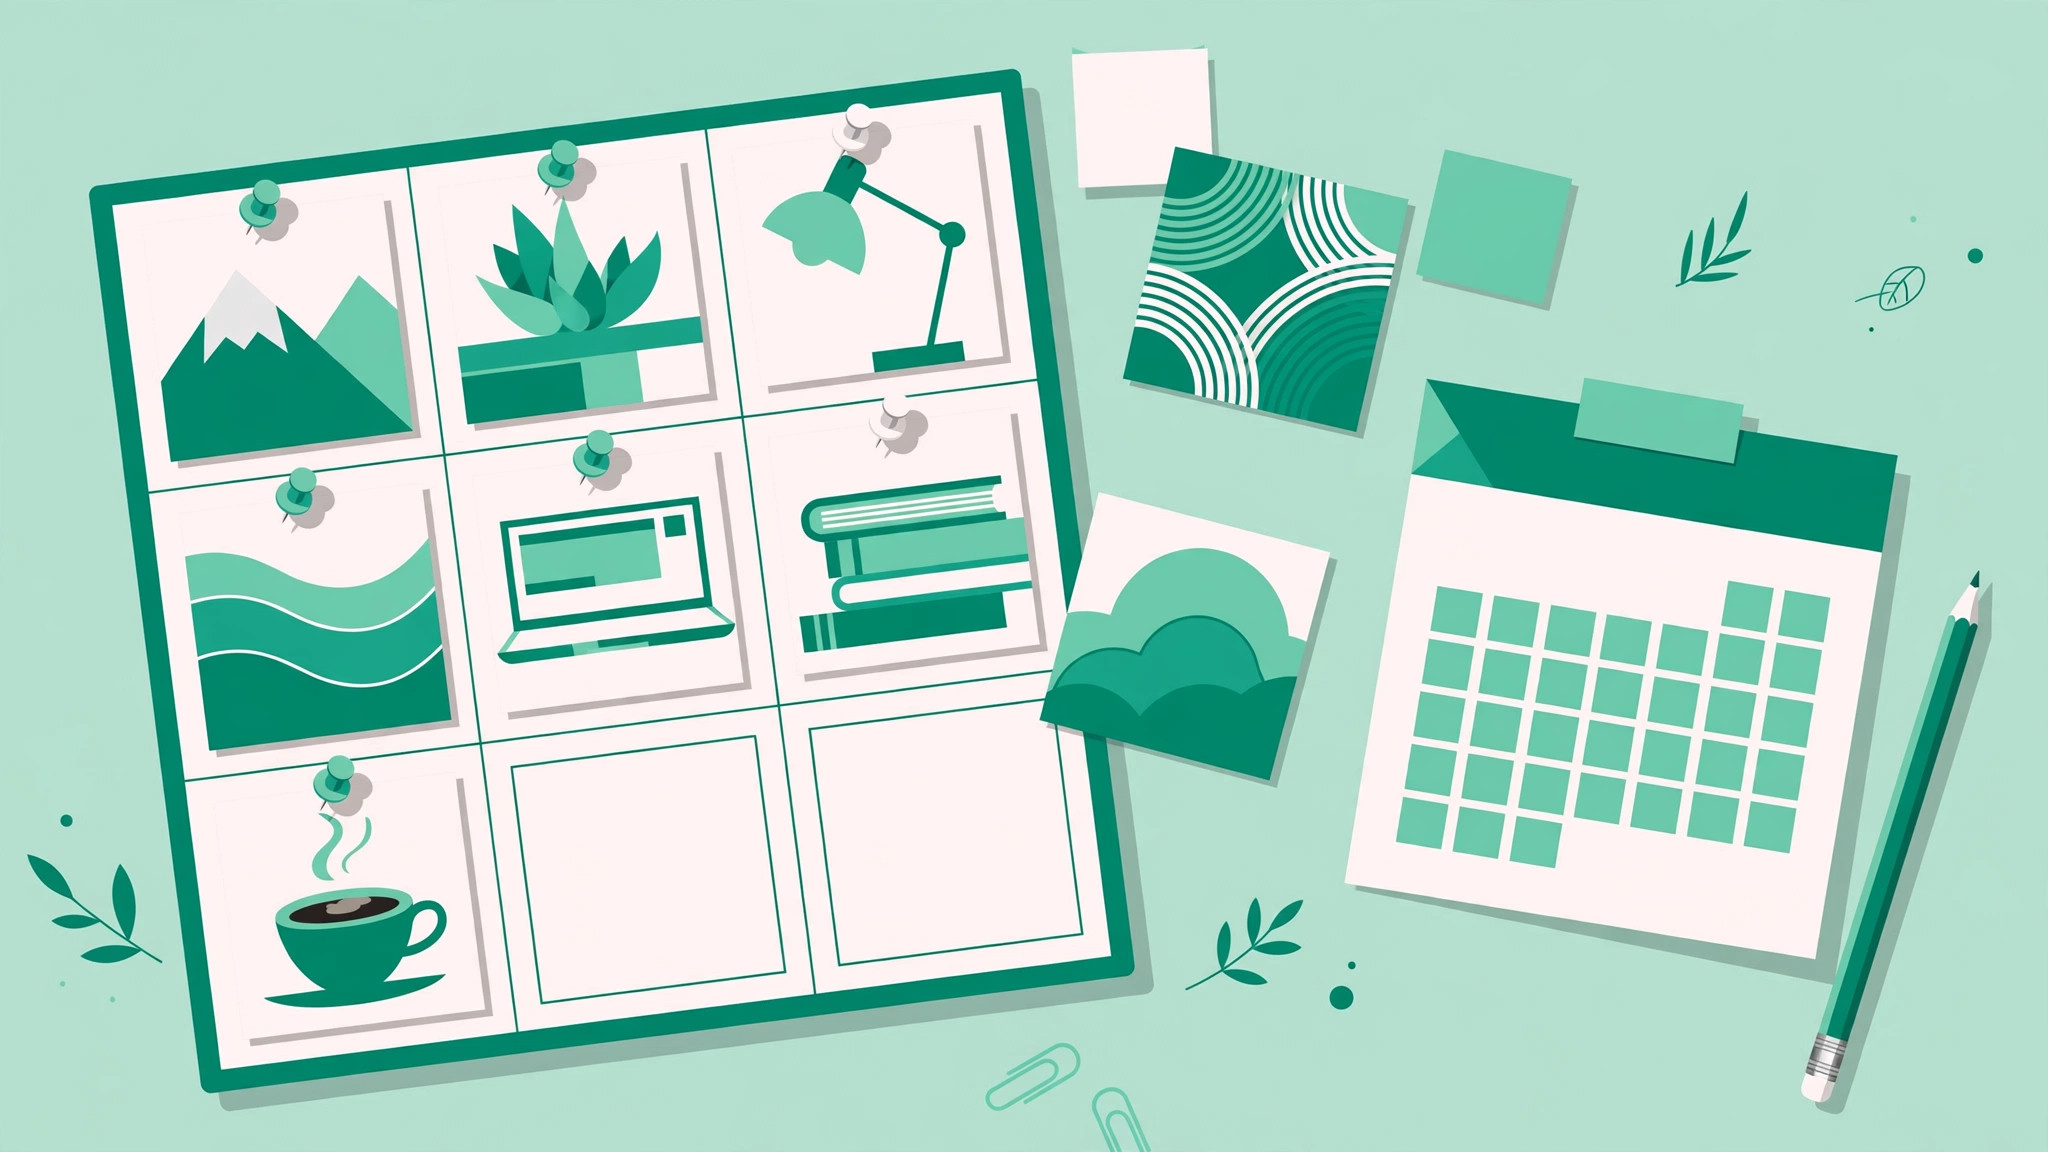
An Instagram profile grid planner shows you how upcoming posts will look on your profile grid before you publish them. Instead of posting one photo at a time and hoping the feed looks good, you drag planned posts into a preview grid, check the colors and crops, and fix anything that looks off while it is still easy to change. It turns guesswork into a quick visual check.
Grid planner versus scheduler: what is the difference
A grid planner is about how your feed looks. A scheduler is about when your posts go live. A scheduler publishes at a set time, even while you sleep, but it does not always show how a post will sit next to your other posts. Many paid tools do both jobs in one app. Free tools often do only one job well, so check before you commit. If visual planning matters most, pick a tool with a strong grid preview.
The one size fact that changes everything: 3:4 tiles
Since January 2025, profile tiles are 3:4 rectangles, taller than wide. A portrait image at 1080 by 1440 pixels fills a tile exactly, with nothing cut off, making it the safest size for a grid post. A 4:5 image loses a sliver from the top and bottom in the preview. A square image loses parts of its left and right edges. The full post is unaffected once someone taps into it, but the preview is what visitors see first. Design grid posts at 3:4 when the look matters, and keep key text and faces away from the edges.
Plan bottom-up, because that is how visitors read your grid
Plan from the bottom up. The bottom row holds your oldest new posts, and the top row holds your most recent ones, because new posts appear at the top and push older posts down. So the first post you plan should sit at the bottom of your planned block, and the last post at the top. Planning top-down will flip a pattern like a checkerboard upside down. Most planners let you drag posts to reorder them, so use that freely to balance dark and light images across each row. The planner is where an order is allowed to be wrong, because nobody sees your drafts except you.
Free and paid planners worth trying
Preview is popular for its clean drag-and-drop grid and simple analytics. Plann offers planning, scheduling, and hashtag tools in one place. UNUM is known for its visual design features. Later and Planoly are fuller scheduling platforms that also include grid previews. No-login browser planners work for quick checks without an account, though they usually cannot publish for you. Whatever you choose, test it with your own photos, not its sample images, which are chosen to look good together.
What Instagram’s own scheduler can and cannot do
Instagram’s built-in scheduler lets you schedule posts up to 75 days ahead, with a limit of 25 posts per day, and it costs nothing. The catch is that it has no visual grid preview. You can set times and dates, but you cannot see how scheduled posts will look side by side. That is exactly the gap a grid planner fills: plan the look first, then schedule in the right order. Since June 2026, Instagram also lets you reorder published posts natively with a long press and the Reorder grid option. That is welcome, but it happens in public, so the planner is still the better place to experiment.
Watch the scheduling API limit: design at 4:5, protect the middle 3:4
Images scheduled through Meta’s publishing connection must sit between 4:5 and 1.91:1 in aspect ratio. A 3:4 portrait image is outside that range, so it cannot be scheduled through that connection, even though it displays perfectly in the grid. The workaround is to design at 4:5 and keep all key parts inside the middle 3:4 area. Then the image can be scheduled without a problem, and nothing important is cropped in the tile. Treat the top and bottom slivers of a 4:5 image as a safety margin: decorative background only, never a headline, face, or logo. Posting manually from the app avoids the limit entirely.
A weekly workflow that actually works
Here is a weekly workflow that takes about 30 minutes. First, pick your formats and goals: how many Reels, carousels, and single photos you will post, and what each one should achieve, whether reach, saves, comments, or clicks. Second, fill your grid slots from an idea list kept on your phone, instead of staring at a blank planner. Third, check the crop and color balance of the whole grid, looking at each row as a unit. Fourth, schedule in sequence, from the bottom row upward, so the first post to go live is the one at the bottom of your planned block.
Small details that make a grid look professional
Color balance is the easiest win. Alternate warm and cool tones, and avoid putting two very dark or very bright images side by side unless that is a deliberate pattern. Text-heavy posts need spacing too: two quote graphics next to each other can look cluttered, so separate them with a photo or a Reel cover. Your bio works with your grid, not apart from it. Visitors read the bio first, then scan the grid, so the two should feel like they belong together. You can sharpen that first impression with an Instagram bio generator to test wording before you commit to one version.
Captions and hashtags belong in the plan too
Many creators plan only the images and leave captions and hashtags to the last minute. That is a mistake, because a strong caption can rescue an average photo, and a weak one can waste a great one. Write the caption while you plan the post, when the idea is fresh, and note the call to action you want, whether a comment, a save, or a profile visit. Hashtags deserve the same early attention: choose tags that fit the specific post and your niche, rather than pasting the same 30 tags everywhere. You can research options quickly with an Instagram hashtag generator, then refine the list by hand.
Start planning before your next post
You do not need a perfect grid to benefit from a planner. Even a rough preview beats posting blind, and your eye for balance will improve with each week you plan. Start with your next three posts, drag them into a planner, and check the crops and colors. Then add a fourth, a fifth, and a full week. Pair that habit with honest growth tools: explore free Instagram growth tools to check your profile while your grid does the visual talking.