How to Pin Posts on Instagram: The 3 Slots That Sell Your Profile
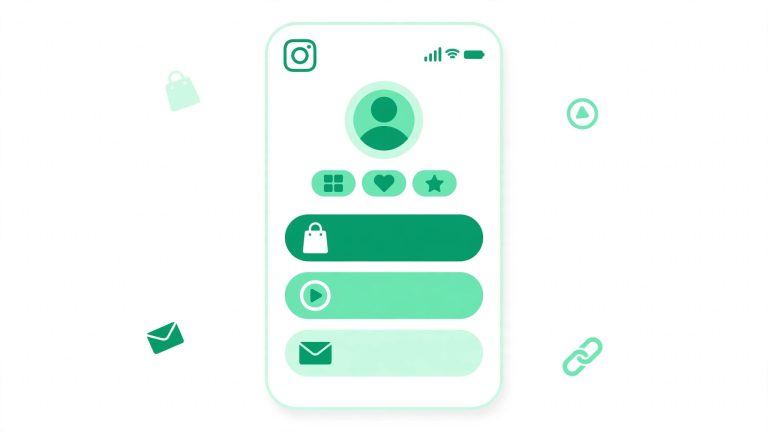
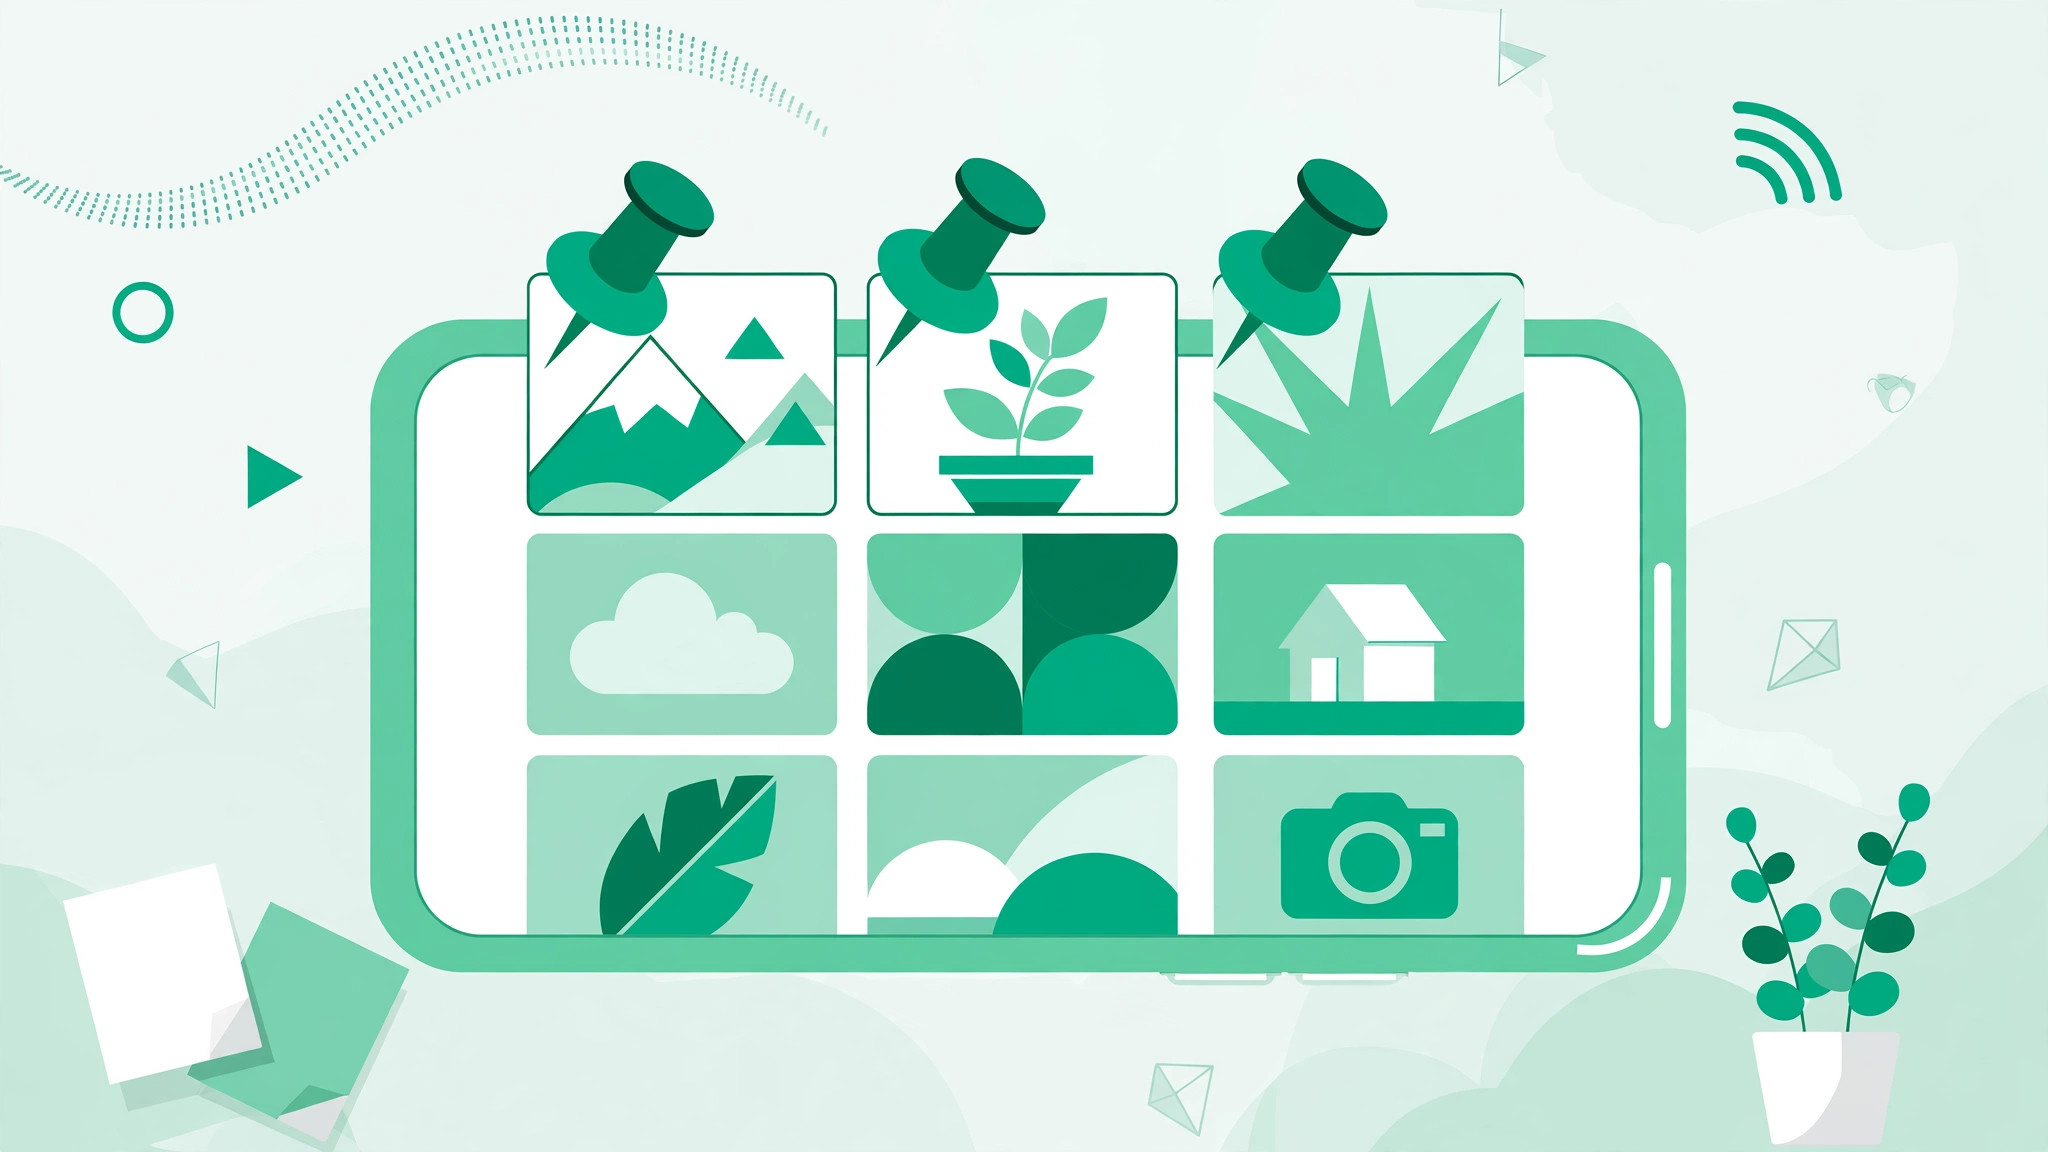
To pin a post on Instagram, open the post, tap the three-dot menu in the top right, and choose Pin to your profile. You can pin up to 3 posts or Reels, and they will sit at the top of your profile grid with a small pin icon marking them. Those 3 slots are the first thing a new visitor sees, which makes them some of the most valuable space on your entire profile. Used well, they can turn a casual profile visit into a follow. Used poorly, they waste your best first impression.
How to Pin a Post on Instagram Step by Step
Pinning takes less than a minute. Open your profile and tap the post or Reel you want to pin. Tap the three-dot menu in the top right corner of the post. In the menu that opens, tap Pin to your profile. If Instagram asks you to confirm, confirm it, and the post moves to the top of your grid. A small pin icon appears on the post thumbnail so visitors know it was chosen deliberately.
You can pin from the mobile app and from the web version of Instagram, where the option sits in the same three-dot menu on the post. If you do not see it at all, update the app first. Pinning launched in June 2022, so any recent version supports it. There is no special requirement: you do not need a business account, a certain follower count, or a verified badge.
How the 3 Pinned Slots Work
Instagram gives you exactly 3 pinned slots, and that limit applies across posts and Reels combined on your main grid. If you try to pin a fourth post, Instagram shows a Pin Limit Reached message and asks you to unpin something first. There is no way to unlock extra slots.
The order of your pins matters, and it works differently from what many people expect. The most recently pinned post appears first, on the left of the top row. Each new pin pushes the previous pins one step to the right. So if you want visitors to read your pins left to right in a specific order, pin them in reverse: pin the third one first, then the second, then the first. The last pin you make becomes the first pin visitors see.
There is no drag-to-reorder option for pinned posts. To change the order, unpin all 3 posts and re-pin them in the order you want, starting with the one you want on the right and ending with the one you want on the left.
How to Unpin a Post
Unpinning is the same flow in reverse. Open the pinned post, tap the three-dot menu in the top right, and choose Unpin from profile. The post leaves the pinned row and returns to its normal chronological position in your grid. Unpinning does not delete the post, hide it, or change its likes and comments. It simply stops holding the top slot.
This makes pins low-risk to experiment with: try a combination for a week or two, then swap in a stronger post if one slot underperforms.
Pinned Reels: Main Grid and Reels Tab
When you pin a Reel, it appears pinned on your main grid and in your Reels tab, so visitors browsing either place see it first. But the 3-slot limit is shared: pinning a Reel uses one of the same 3 slots as a photo post, so a mix of 2 Reels and 1 photo post fills all 3 slots. Plan your combination as one set of 3, not as 3 posts plus 3 Reels.
The Best Strategy for Your 3 Slots
With only 3 slots, every choice should earn its place. A proven combination is: your best-performing post, an intro or start-here post, and your current offer or lead magnet.
Slot one, your best-performing post, works as social proof. Pick the post with the strongest genuine engagement, the one that already made people comment, save, or share. Pick the one your audience already voted for with their attention, not just one you like personally.
Slot two, your intro or start-here post, tells visitors who you are and what they get by following. This could be a post that explains your niche, a short video introducing yourself, or a carousel answering the most common question in your topic. A visitor who understands your page in five seconds is far more likely to follow.
Slot three, your current offer or lead magnet, turns attention into action: a free guide, a challenge, or a service. Rotate it whenever your offer changes. A pinned offer from six months ago that no longer exists is worse than an empty slot, because it sends visitors to a dead end.
One classic creative use is the 3-post banner split: design one wide image, split it into 3 square posts, and pin all 3 so they form a single banner across the top row. Remember the reverse-order rule: pin the right-hand piece first and the left-hand piece last, or the banner will read backwards.
What Pinning Does Not Do
Pinning changes where a post sits on your profile. It does not change how that post appears in your followers’ feeds. A pinned post does not get pushed to the top of anyone’s home feed, and it does not get a second round of feed distribution just because you pinned it. Pinning also does not change the post’s date: unpinning returns it to its original chronological spot. Think of pins purely as profile merchandising: they organize what visitors see first, and profile visits are where follows happen.
Pairing Pins With a Strong Profile
Pins work best when the rest of your profile supports them. Your bio should say clearly what you do and who your content is for, because visitors read it before tapping a pinned post. If your bio is vague, even great pins underperform, and a tool like the Instagram bio generator can help you draft a sharper line. Your pins should also match your bio’s promise: if it says daily tips, your pins should show tips.
Review your pins once a month: swap out anything outdated, check that links in pinned captions still work, and confirm the order still reads as intended.
Three pinned slots are a small feature with an outsized effect. Pin your best proof, your clearest introduction, and your current offer, keep them in the right order, and refresh them regularly. It works because visitors glance at your bio, scan your top row, and decide in seconds. Give those seconds something worth following. For a fuller playbook on turning visitors into followers, read how to get more followers on Instagram, and explore the free Instagram tools on the homepage to support your growth.